DIY Felt Flower Bouquet

Once you start making flowers out of felt, we guarantee you will be obsessed! These felt roses are beginner-friendly flowers and will look so pretty in your home. We love to mix up the colors in our rose bouquets! One idea when picking your colors is to stick with a color scheme that includes a coordinating pastel, medium, and neutral hue. We used our Roses are Red Flower Die Cut collection and Evergreen felt! First things first let's gather our supplies!

We will need:
Leaf Die Cuts
flower wire stems

Start by cutting 1" x 10" strips of felt based on the number of flowers you would like in your bouquet. Don't worry about them being perfectly straight because we will cut the excess off in the next step!

Wrap your felt strip around your stem and hot glue together. Let it cool for a few seconds then cut the excess off. This gives your stem more volume and matches the felt texture of the flower.

Now that your stem is complete, we can start making our flower! All you do is start from the smallest end on the outside of the spiral and begin rolling it between your index and thumb like a straw wrapper!
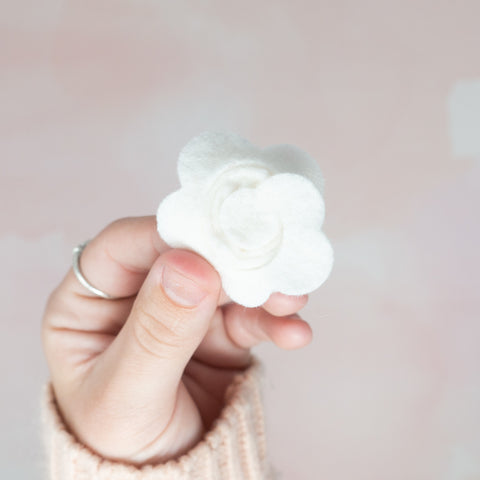
Once you have rolled up the die cut all the way, hot glue the larger end to the back center of the rose securing your felt flower.

Attach your leaf die cut to the back of your flower with hot glue. Then, glue the stem on to the back center. It's that simple! Congrats on completing your first felt flower! Follow these steps a few more times and you will have a beautiful bouquet in no time.
Thanks for reading! We love to see what you make! Tag us in your projects on social media.
You may also like our exclusive collections: